Publish Expo React Native App to App Stores
Ready to launch your Expo React Native app? Here's a quick guide to get your app into users' hands:
-
Prep your app:
- Update app.json with name, version, icons
- Test thoroughly
- Follow store guidelines
-
Build your app:
eas build --platform ios eas build --platform android -
Submit to stores:
eas submit -p ios eas submit -p android -
Wait for review:
- Apple: 1-3 days
- Google: About 24 hours
-
Handle issues:
- Fix rejections promptly
- Use TestFlight for iOS betas
| Step | iOS | Android |
|---|---|---|
| Account | $99/year | $25 one-time |
| Build | EAS Build | EAS Build |
| Submit | EAS Submit | EAS Submit |
| Review time | 1-3 days | ~24 hours |
Remember: Test extensively, listen to users, and keep improving. Your app journey is just beginning!
Related video from YouTube
Before You Start
Let's get you set up for app publishing. You'll need a development environment and some accounts.
Setting up Expo CLI
First, install Node.js and npm:
- Download Node.js from https://nodejs.org/
- Install it (npm comes with it)
- Check it's working:
node --version
npm --version
Now, install Expo CLI:
npm install -g expo-cli
Create a new project:
expo init NewProject
cd NewProject
npm start
Make sure your internet's good and your computer can handle it.
Getting Developer Accounts
You'll need accounts for both app stores:
Apple Developer Account
- Costs $99/year
- You need:
- Apple ID with two-factor auth
- Up-to-date personal info
To sign up:
- Go to https://developer.apple.com/
- Hit "Account"
- Sign in
- Agree to terms
- Click "Enroll Now"
- Pay up
It might take a day or two to get approved.
Google Play Developer Account
- One-time $25 fee
- You need:
- Gmail account
- 2-Step Verification on
To sign up:
- Visit https://play.google.com/console/signup
- Log in
- Pick 'Organization or Business'
- Enter your dev name
- Set up payment
- Fill out your details
Google might ask for more info to verify you.
Getting Your App Ready
Before submitting your Expo React Native app, you need to prep it. Let's cover the essentials.
Updating app.json
Your app.json file is key. Here's what to update:
- name: What users see
- slug: URL-friendly ID
- version: Your app's version
- icon: Path to your icon
For iOS:
- bundleIdentifier: Unique ID (e.g., com.yourcompany.appname)
- buildNumber: Build version string
For Android:
- package: Unique ID (like iOS bundleIdentifier)
- versionCode: Integer that increases with updates
Here's a basic app.json:
{
  "expo": {
    "name": "MyAwesomeApp",
    "slug": "my-awesome-app",
    "version": "1.0.0",
    "icon": "./assets/icon.png",
    "ios": {
      "bundleIdentifier": "com.mycompany.myawesomeapp",
      "buildNumber": "1.0.0"
    },
    "android": {
      "package": "com.mycompany.myawesomeapp",
      "versionCode": 1
    }
  }
}
Meeting Store Guidelines
To avoid rejection, focus on:
- Code Quality: Squash those bugs
- Performance: Make it snappy
- User Experience: Keep it intuitive
- Content: Deliver on your promises
- Privacy: Be clear about data use
Fun fact: Apple said "no" to 35% of apps from 2017 to 2019. To boost your chances:
- Test on different devices
- Lock down security
- Be honest in your app description
- Use eye-catching screenshots and icon
Building Your App
Your app is ready. Let's build it for the app stores using EAS Build, Expo's cloud service for app binaries.
Using EAS Build
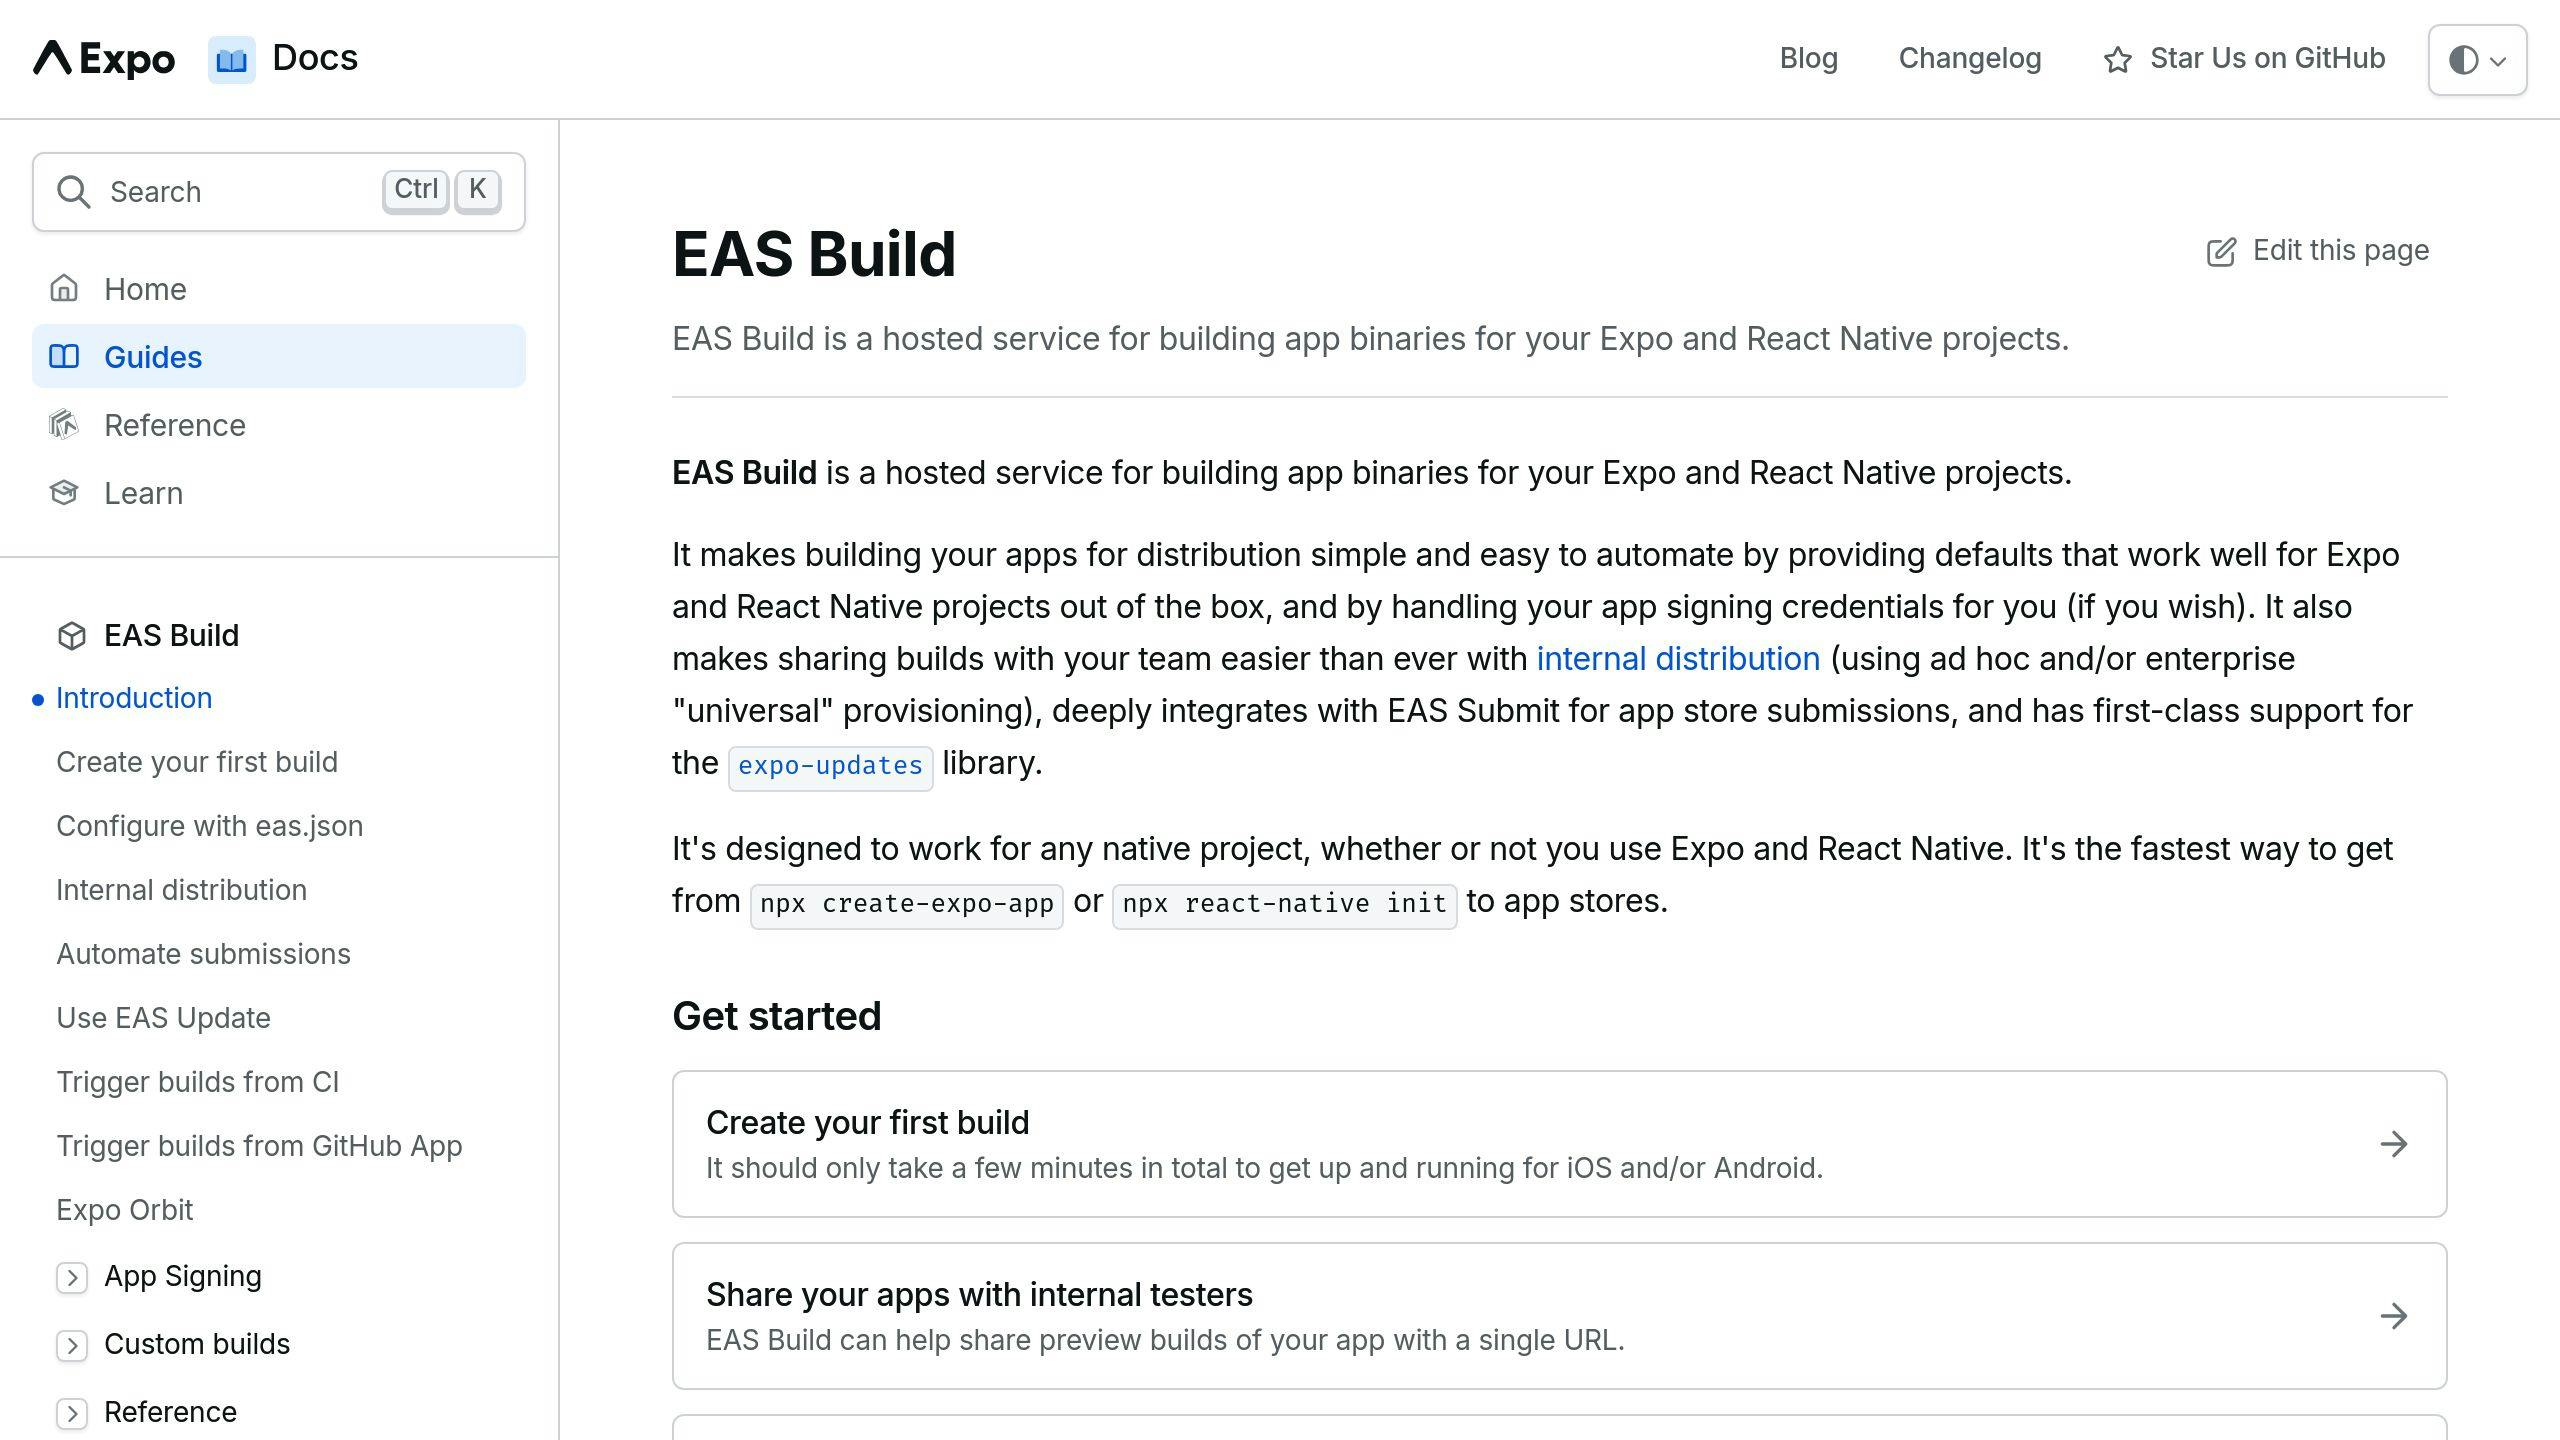
First, install the EAS CLI:
npm install -g eas-cli
Then, build your app:
eas build --platform all
This builds for both iOS and Android. For a single platform:
- iOS:
eas build --platform ios - Android:
eas build --platform android
EAS will handle app signing, create certificates (iOS), and generate a provisioning profile (iOS).
For iOS builds, you'll need your app's bundle identifier and Apple Developer account login.
Checking Build Progress
EAS CLI gives you a link to track progress. Click it to open the Expo dashboard.
You'll see:
- Build status
- Detailed logs
- Any errors
| Build Status | Meaning |
|---|---|
| In Progress | Build running |
| Finished | Build successful |
| Failed | Build error |
If your build fails, check the logs. Common issues include missing dependencies, wrong app.json configs, or JavaScript bundle errors.
To fix most issues, run:
npx expo-doctor
This tool checks for compatibility issues and suggests fixes.
Submitting to Apple App Store
Setting Up App Store Connect
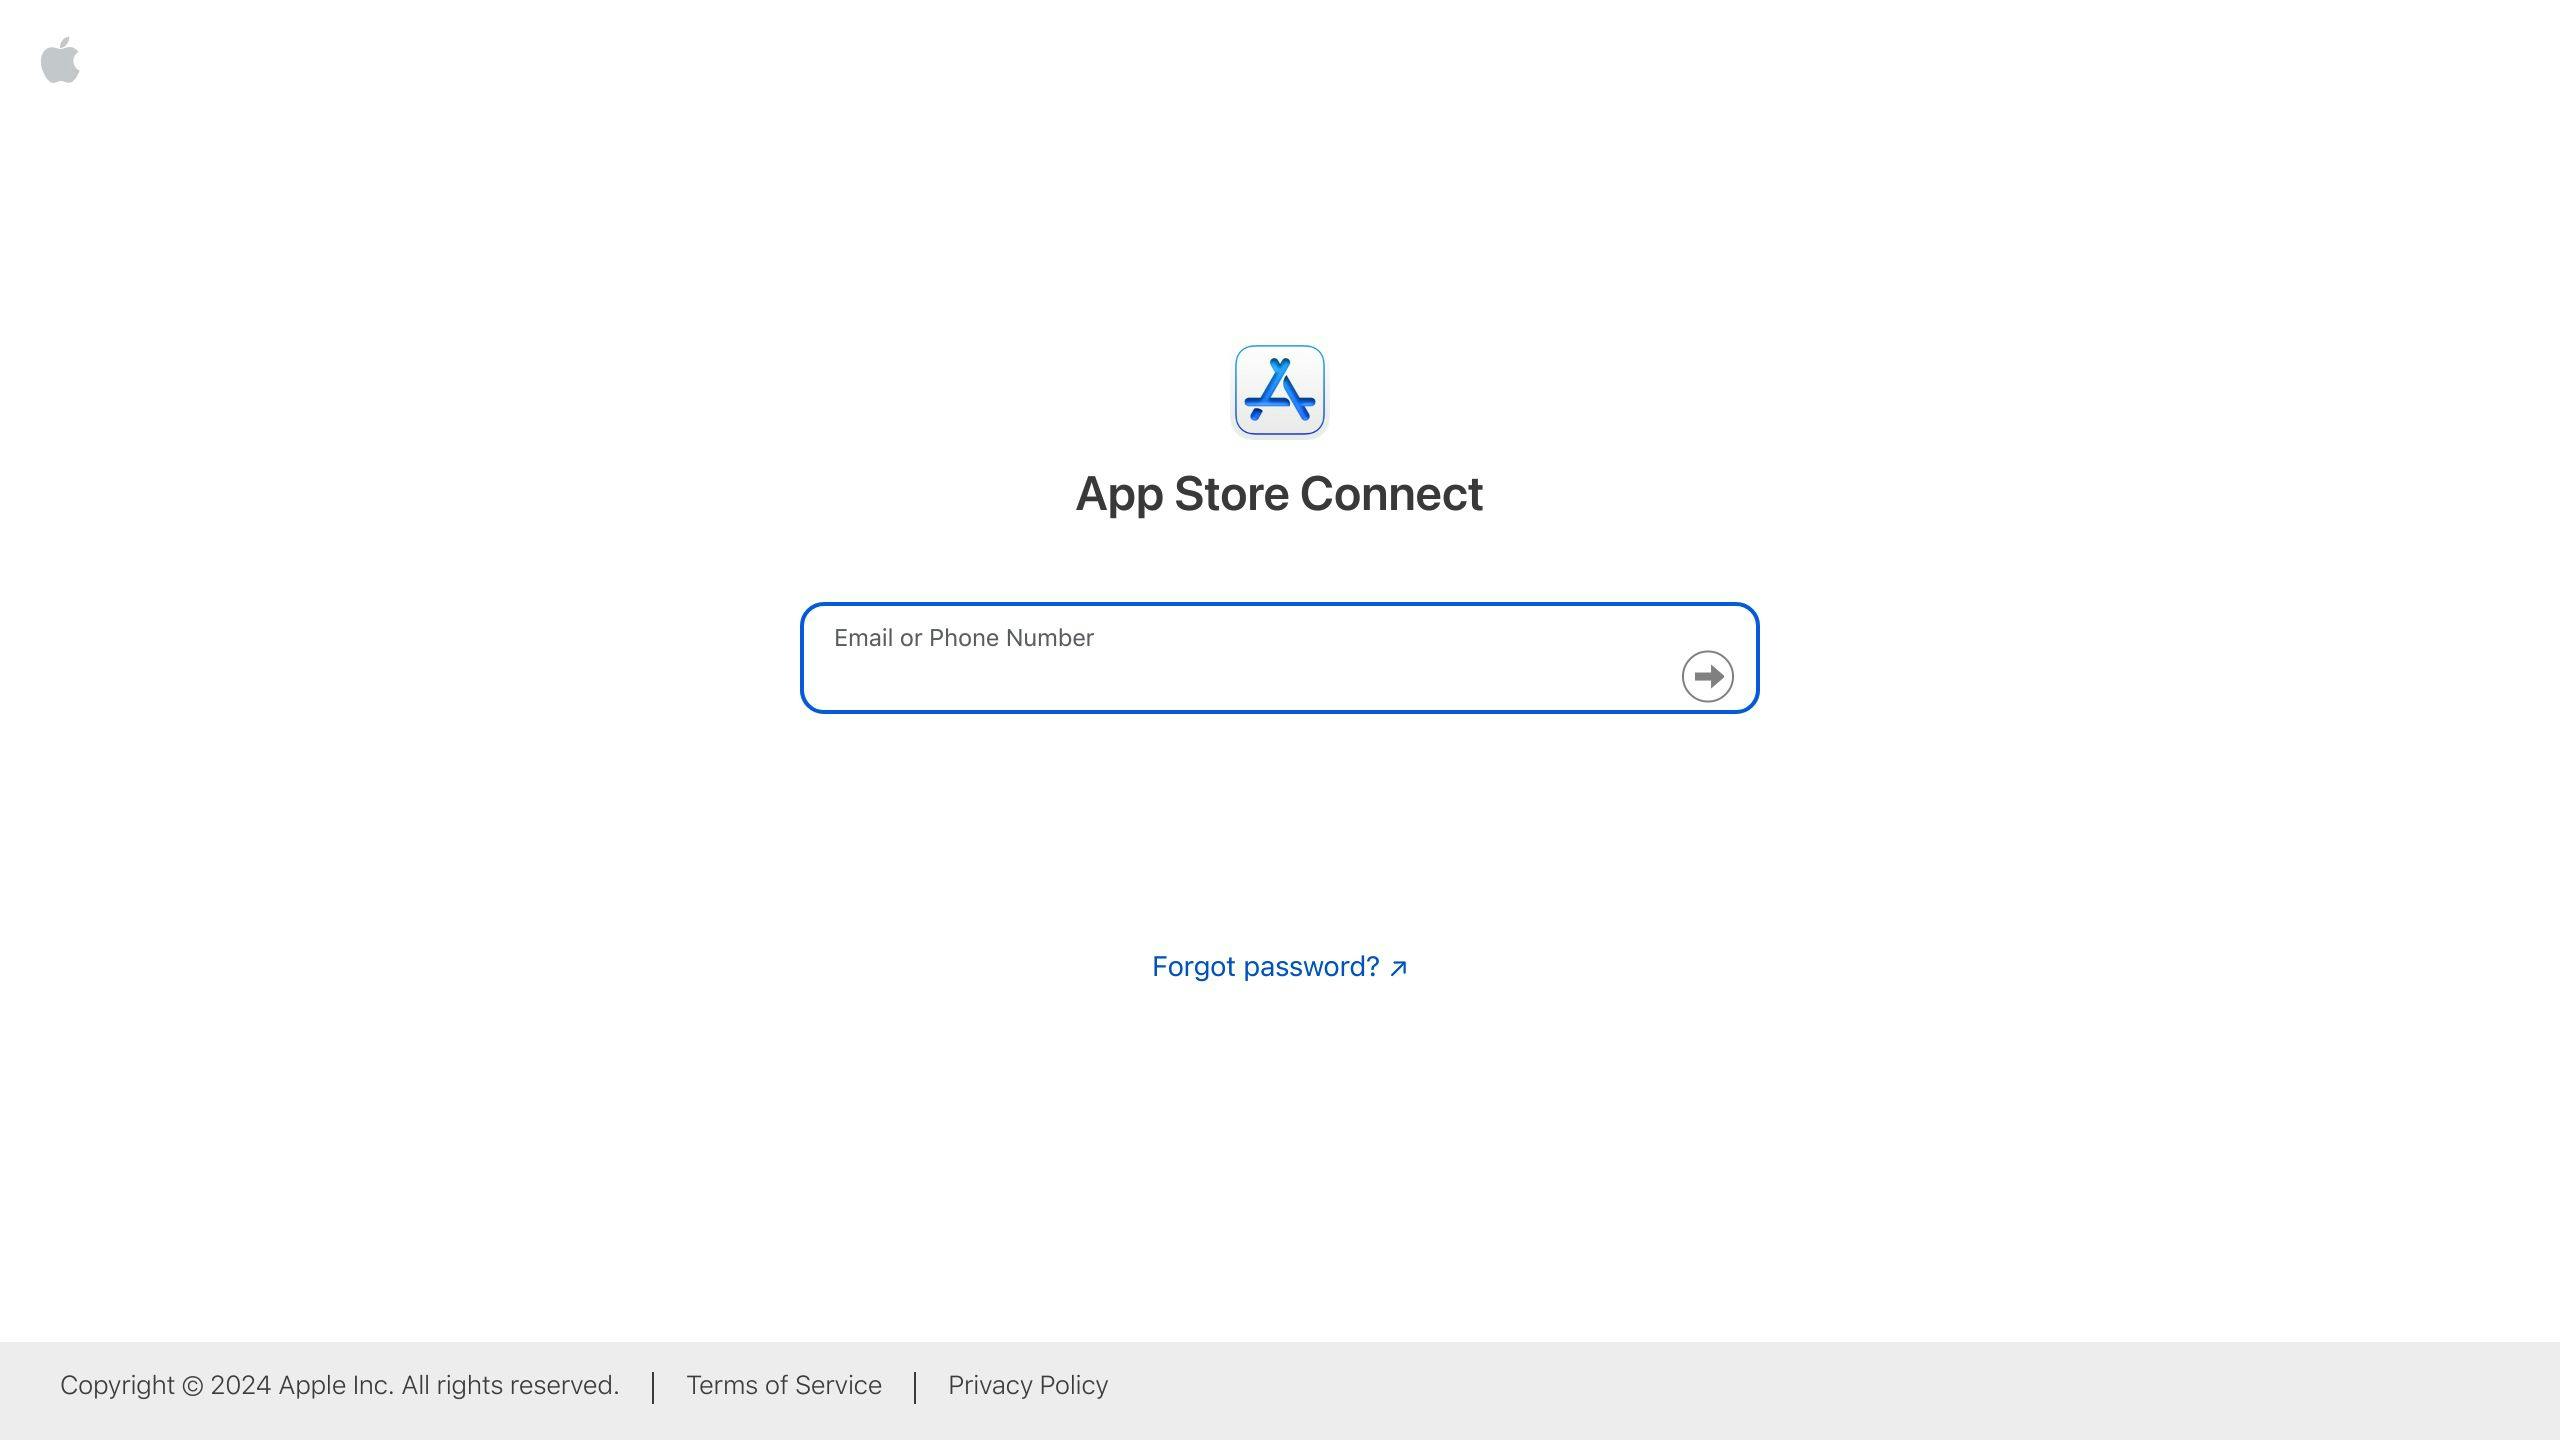
Before you can submit your Expo React Native app to the Apple App Store, you need an App Store Connect account. Here's what to do:
- Sign up for an Apple Developer account
- Join the Apple Developer Program ($99/year)
- Log in to App Store Connect
- Add your new app
When adding your app, you'll need to provide:
- A unique name
- Primary language
- Bundle ID (from your app.json)
- SKU (can match your Bundle ID)
Can't use "Plants" as your app name? Try "PlantPal" or "GreenThumb Guide" instead.
Using EAS Submit for iOS
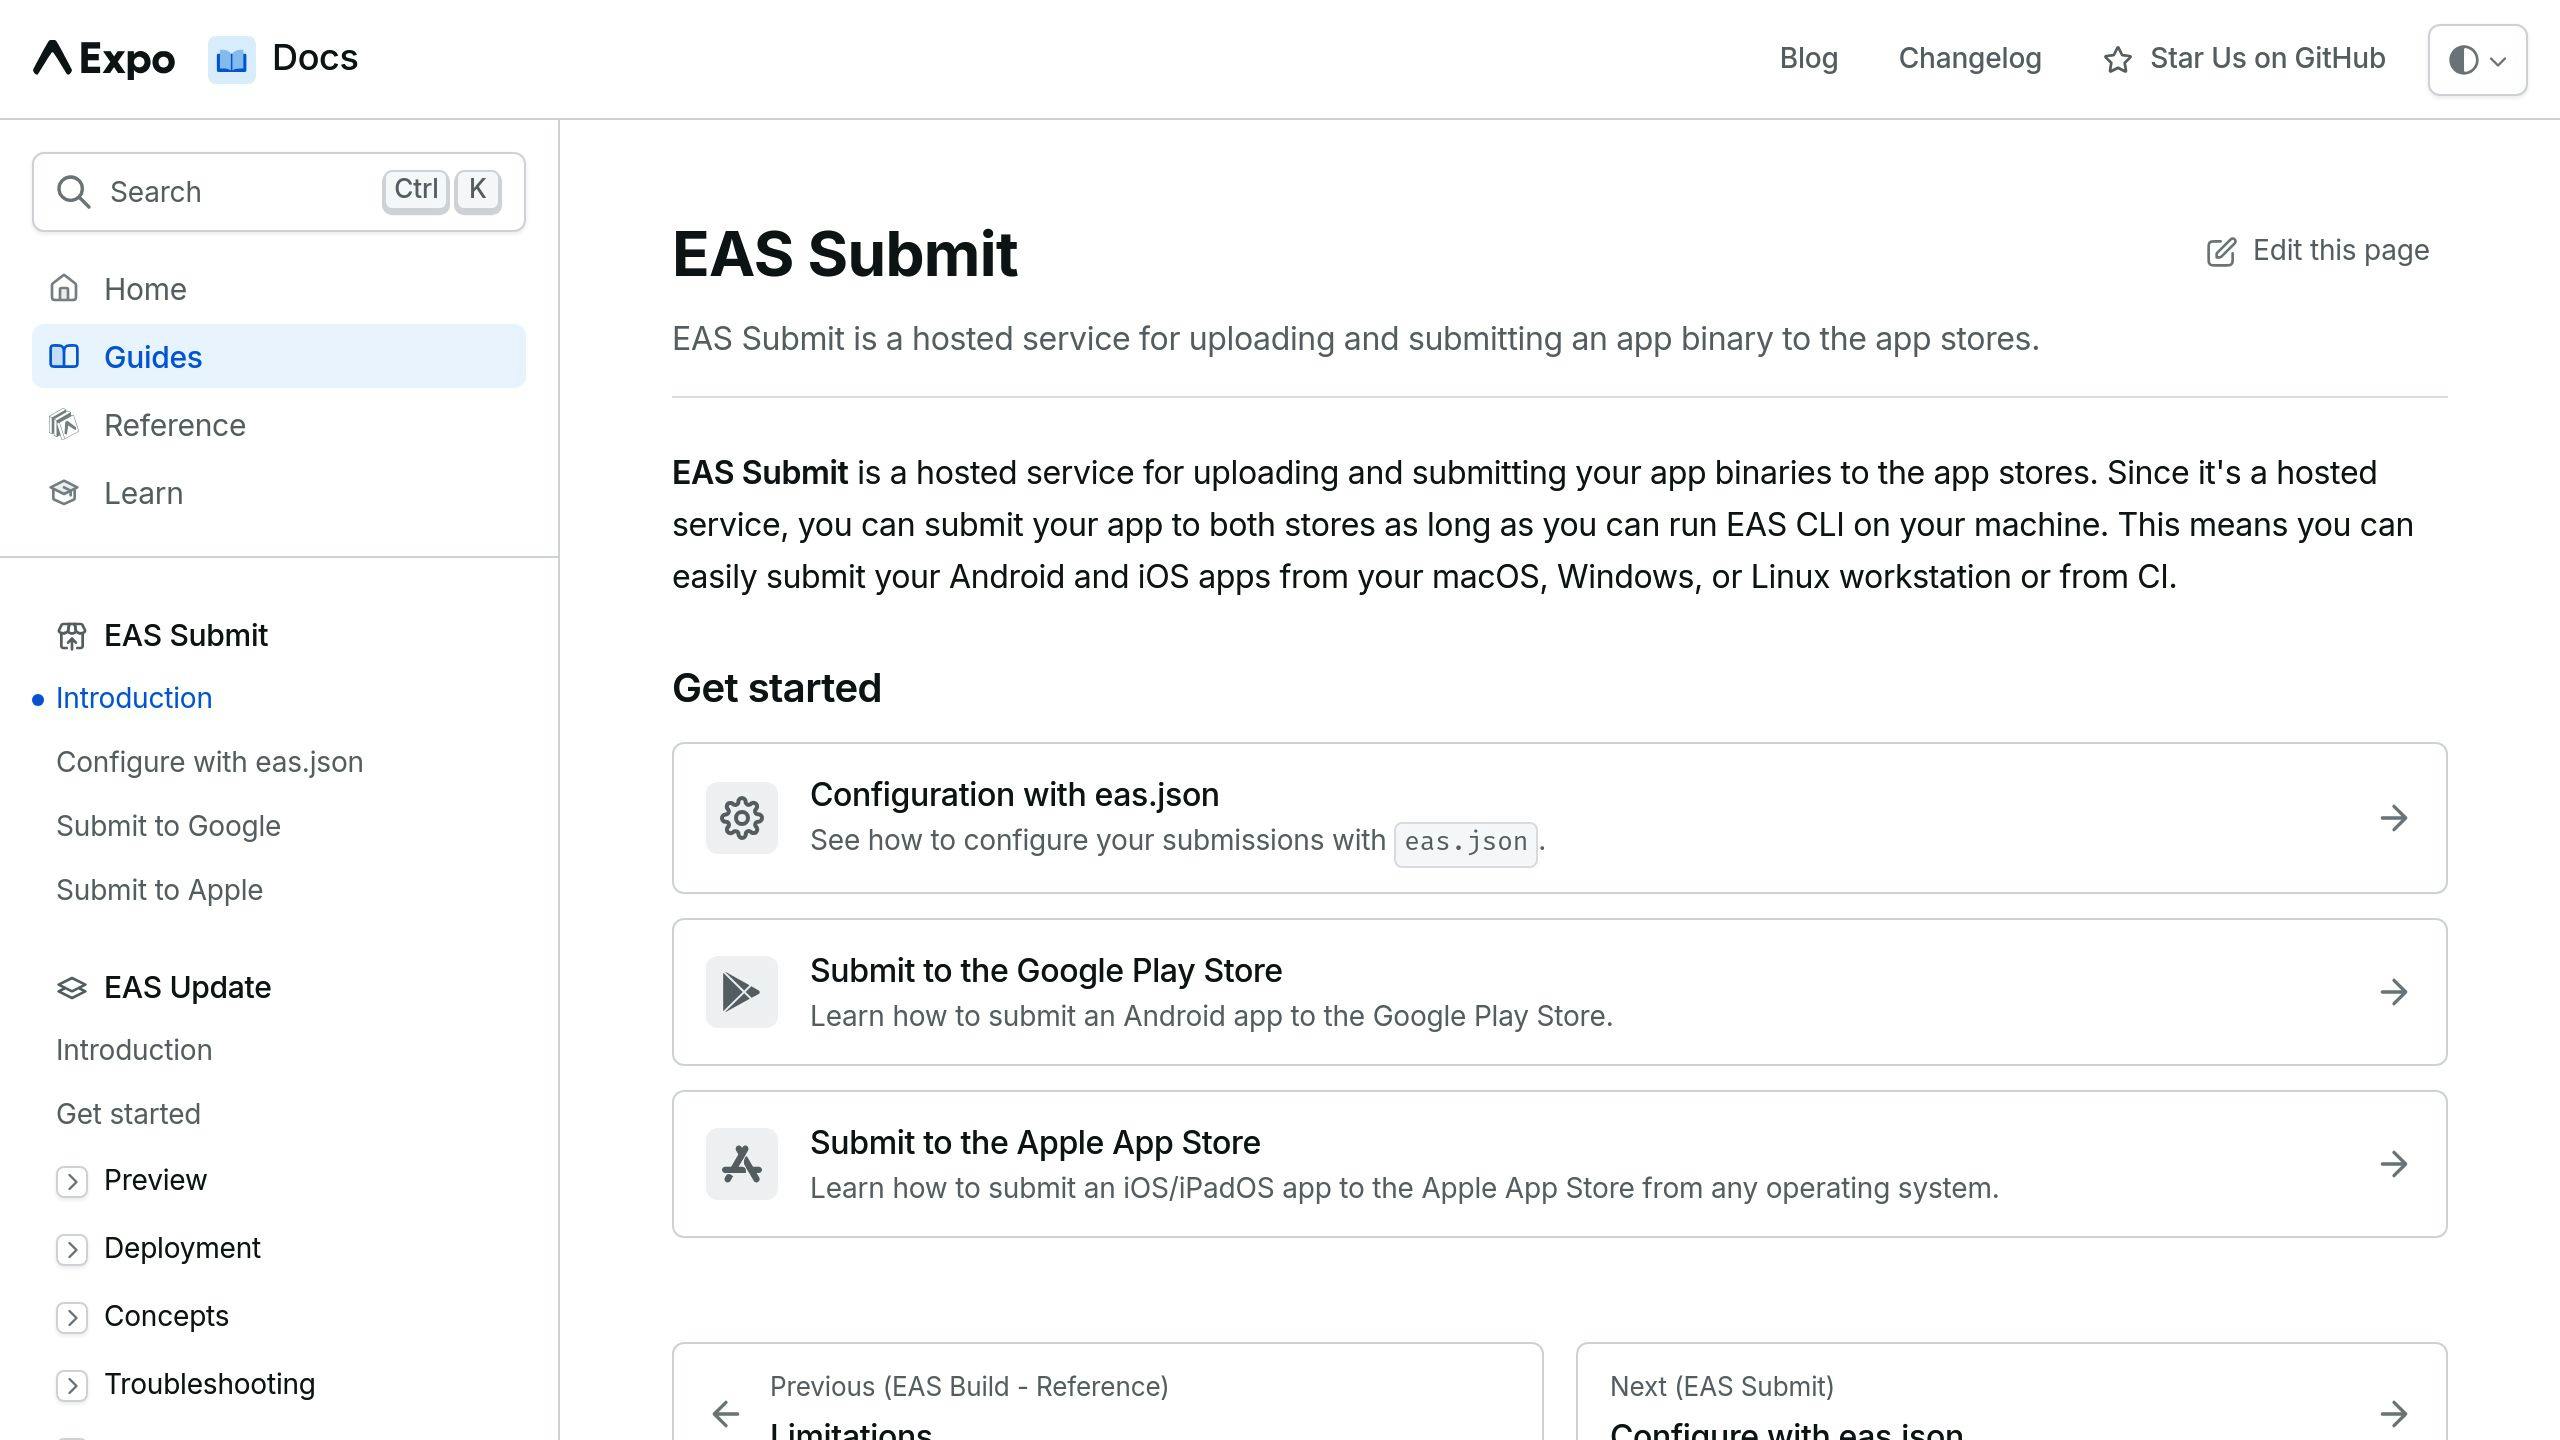
Ready to submit? EAS Submit makes it easy:
- Install EAS CLI:
npm install -g eas-cli
- Run:
eas submit -p ios
- Follow the prompts
Set "usesNonExemptEncryption": false in your app.json to skip encryption questions next time.
After submitting, keep an eye on App Store Connect. Reviews usually take 1-3 days.
| Step | What to Do |
|---|---|
| Prepare | Add screenshots, descriptions, keywords |
| Submit | Use EAS Submit or Transporter |
| Monitor | Check App Store Connect often |
| Respond | Fix any issues quickly |
| Release | Choose manual or auto-release |
sbb-itb-cc15ae4
Submitting to Google Play Store
Setting Up Google Play Console
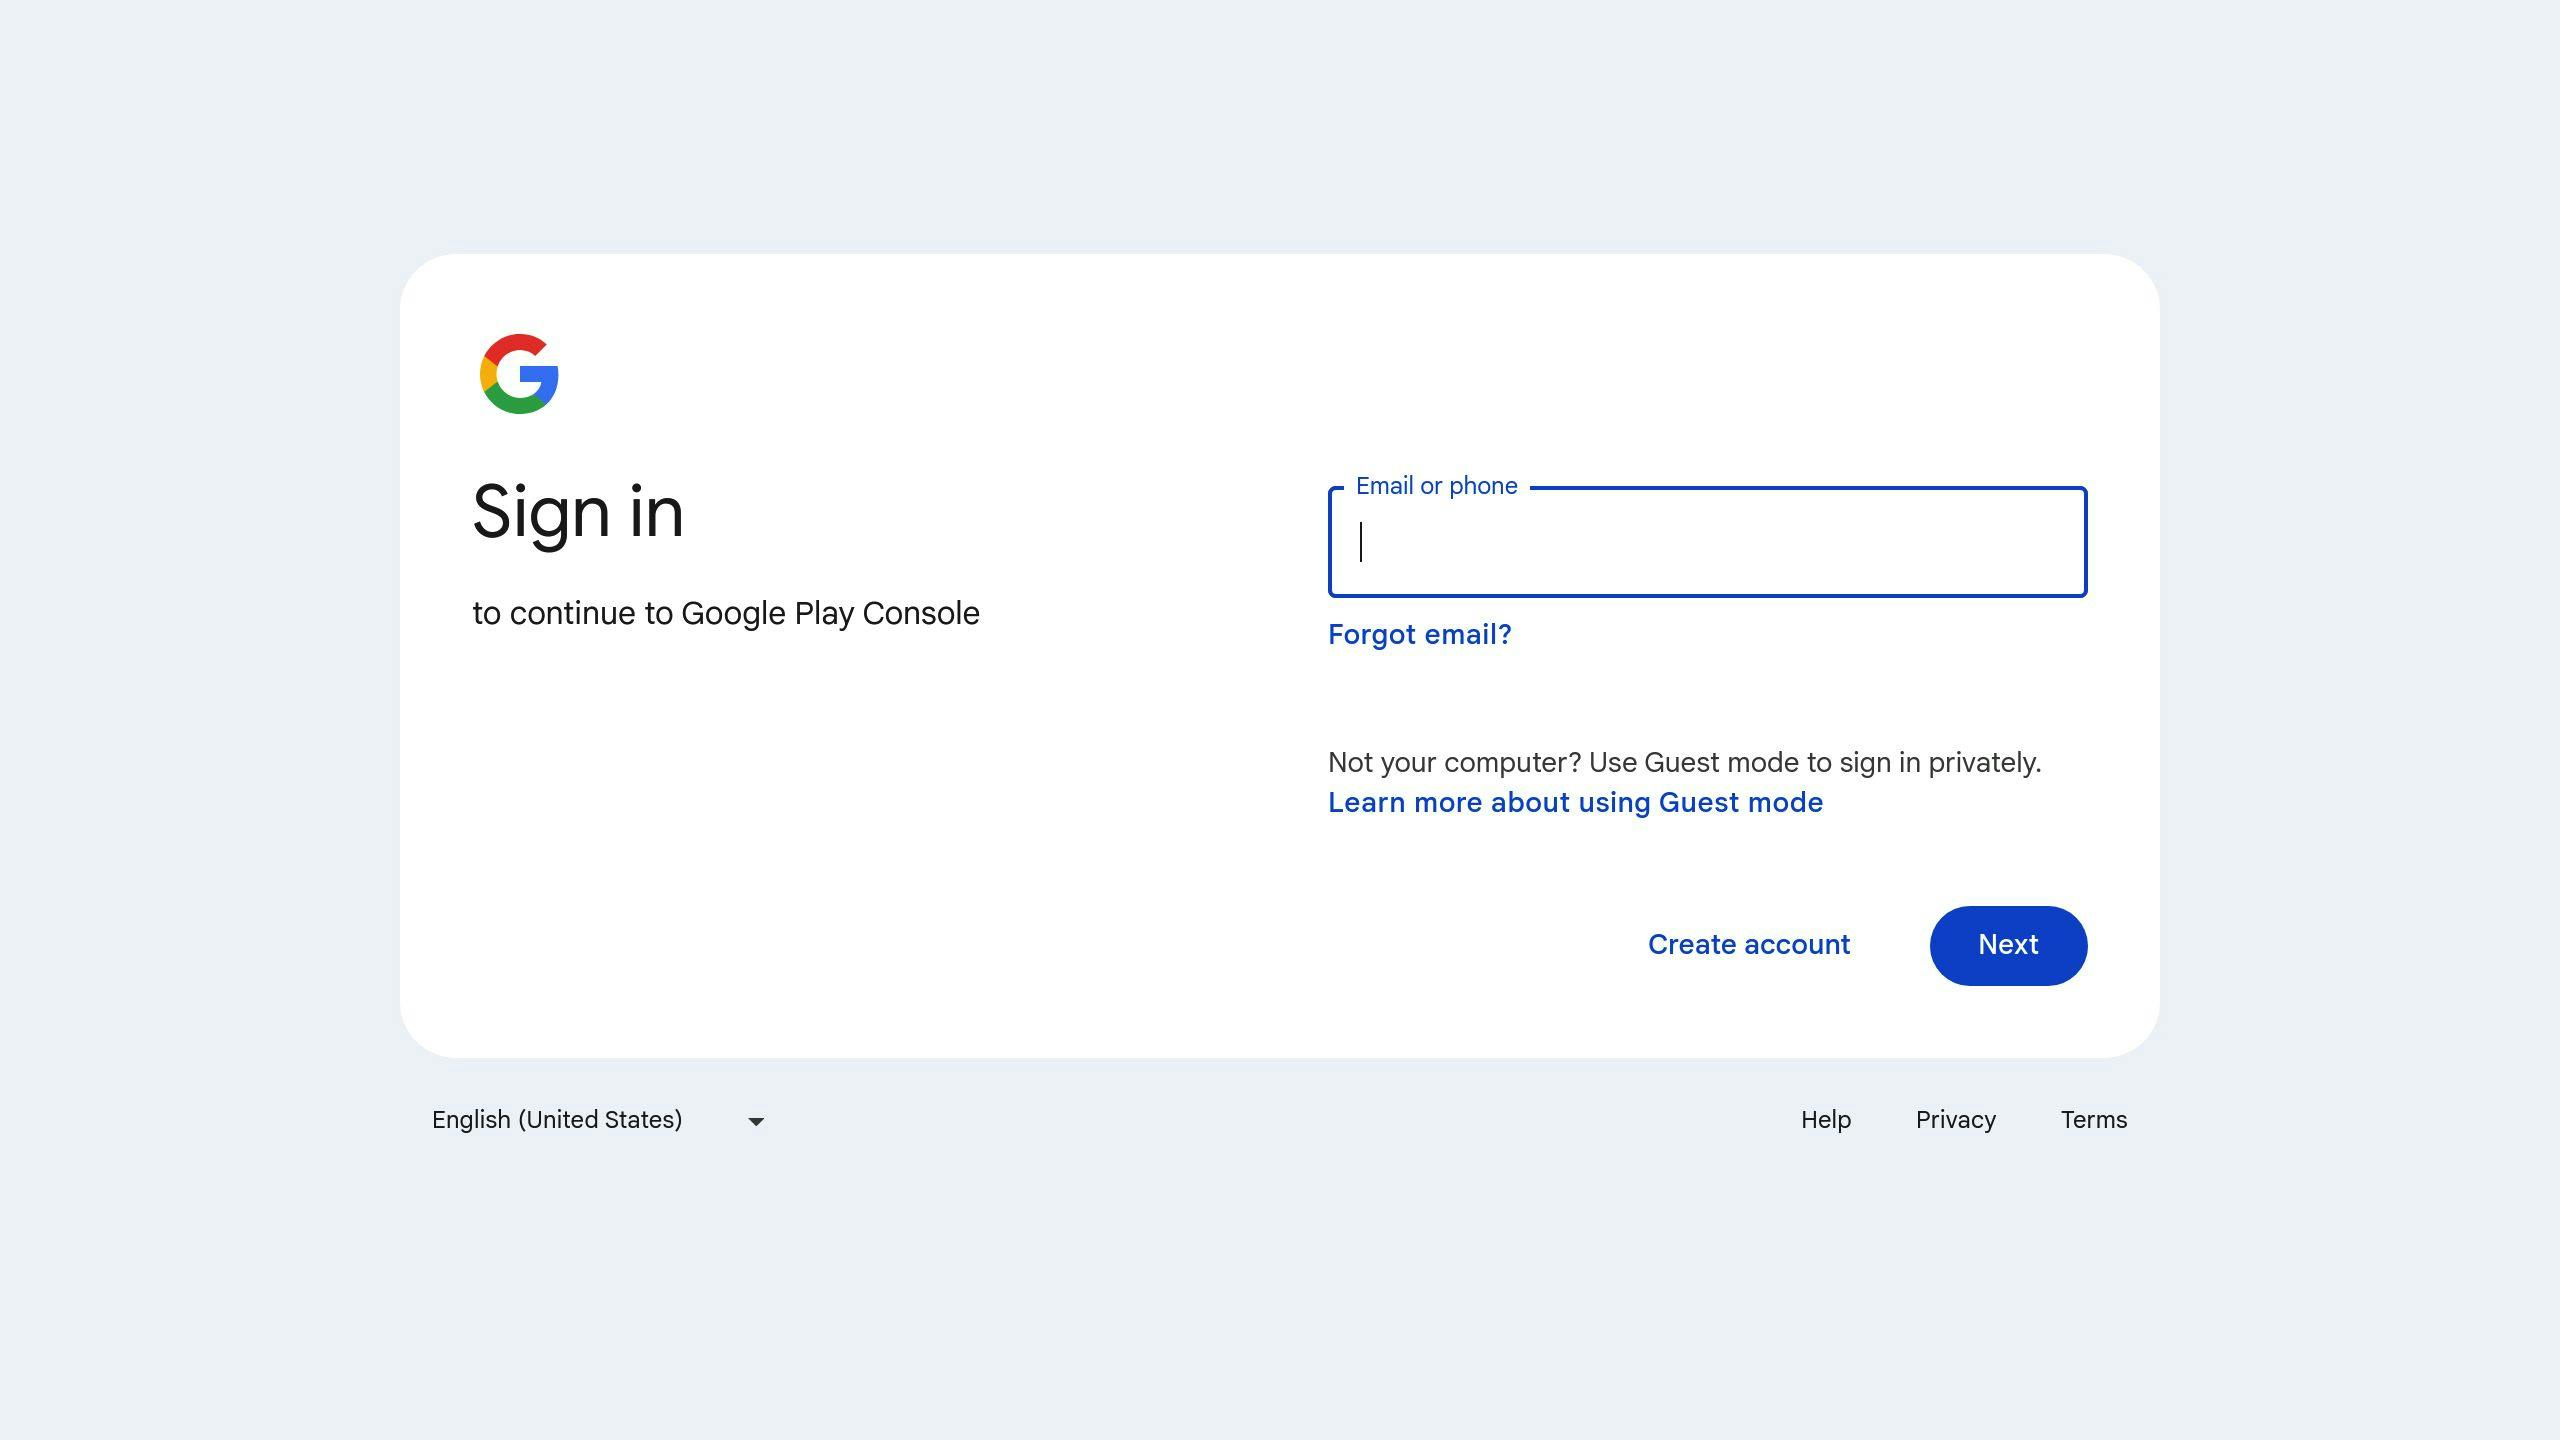
To submit your Expo React Native app to Google Play Store:
- Create a Google Developer Account ($25 one-time fee)
- Log in to Google Play Console
- Add your new app
Provide:
- App name
- Default language
- App or game classification
- Free or paid status
Using EAS Submit for Android
EAS Submit makes submission easier:
- Install EAS CLI:
npm install -g eas-cli
- Run:
eas submit -p android
- Follow the prompts
Upload your app manually at least once before using EAS Submit.
Key submission steps:
| Step | Description |
|---|---|
| Binary selection | Choose build or file |
| Package name | Verify Android package name |
| Service account | Provide JSON private key |
| Submission | EAS uploads to Google Play |
Google's review takes about 24 hours.
Remember:
- Generate an upload key for app updates
- Use App Signing by Google Play
- Submit in AAB format
- Complete all required Google Play Console sections
A Google Play developer relations expert says: "Google Play's review is faster than Apple's, but thorough app testing is still crucial."
After Submission
Checking App Status
You've submitted your Expo React Native app. Now what?
Apple App Store:
The review takes 24-48 hours. Your app goes through these stages:
| Status | Meaning |
|---|---|
| Waiting for Review | In the queue |
| In Review | Under active review |
| Accepted | Meets guidelines (might have minor issues) |
| Rejected | Doesn't meet guidelines |
If rejected, don't sweat it. Use the Resolution Center in App Store Connect to fix and resubmit.
Google Play Store:
Google's review is faster - about 24 hours. Check status in the Google Play Console.
Planning App Updates
Your app's live. What's next?
1. Listen to users
Use tools like UXCam to spot UI/UX issues and get user feedback.
2. Fix what matters
Tackle critical bugs first, then improve features.
3. Use OTA updates
For small changes, use Expo's over-the-air updates. No app store review needed.
4. Big changes? New review
Major updates need another app store review.
5. Keep users in the loop
Use in-app notifications for update info and new features.
Always test before updating. Have a backup plan ready.
"OTA updates are a lifesaver for fixing production errors quickly", says an Expo dev advocate.
Tips for Success
Improving App Quality
Want to make your Expo React Native app better? Here's how:
1. Image handling
Use WebP images, lazy load them, and cache with react-native-fast-image.
2. Prevent re-renders
Memoize components, use useCallback, and pick FlatList over ScrollView for big lists.
3. Faster launch
Turn on Hermes, shrink your bundle, and watch your memory use.
4. Smooth animations
Set useNativeDriver: true and let animations run independently.
5. Debug like a pro
Try Flipper, use React Native's performance monitor, and hunt for memory leaks.
Writing Good App Descriptions
Your app description can make or break downloads. Here's what to do:
| Part | What to do |
|---|---|
| Title | Short, catchy, with keywords |
| Short description | One-sentence app summary |
| Long description | Benefits, features, natural keywords |
| Visuals | 4+ great screenshots, demo video |
| Icon | Stand-out app icon |
Remember:
- Talk about user benefits
- Use keywords (but don't go crazy)
- Keep it simple
- Show off what's special
- Update based on user feedback
"Your app description is your pitch to potential users. Make every word count", says a Sensor Tower App Store pro.
Fixing Common Problems
Build Errors
Building your Expo React Native app and hit a snag? Here's how to fix some common issues:
- Metro bundler connection error
Seeing ECONNREFUSED 127.0.0.1:19001? Try this:
rm -rf .expo
This wipes your local state. Also, check your network for firewalls or proxies.
- Module AppRegistry not registered
Reproduce the production JS bundle locally:
npx expo start --no-dev --minify
- SDK version issues
"XX.X.X is not a valid SDK version"? Upgrade to a supported SDK version.
- React Native version mismatch
Check app.json and package.json. Make sure versions match to avoid bundling issues.
App Store Rejections
Got rejected? Don't panic. Here's what to do:
- Understand why
Apple tells you why. Common reasons:
- Privacy policy problems
- Broken links
- Iffy content
- Fix it
| Rejection Reason | Fix |
|---|---|
| Privacy policy | Add clear policy explaining data use |
| Broken links | Test ALL links |
| Placeholder content | Remove ALL dummy stuff |
- Use TestFlight
For demos and betas, stick to TestFlight instead of the App Store.
- Resubmit smart
Fixed everything? Resubmit. Be thorough to avoid multiple rejections.
"App Store reviews are tough, but they keep quality high. Test like crazy before submitting", says a seasoned iOS dev.
Conclusion
Publishing your Expo React Native app isn't a walk in the park. But don't sweat it. Here's a quick rundown:
-
Prep work: Update
app.json, test like crazy, and follow store rules. -
Build it: EAS Build is your friend.
eas build --platform ios
eas build --platform android
-
Submit: Use EAS submit for both platforms.
-
Troubleshoot: Common hiccups? Check this out:
| Problem | Fix |
|---|---|
| Build fails | Check SDKs, clear cache |
| App rejected | Fix issues, try again |
| App crashes | Install all packages |
- Stay fresh: Use OTA for quick fixes. Big changes? Bump up that version number.
Heads up: Apple takes about a day to review. Google's usually quicker.
"React Native's a solid choice, but things can get tricky as your app grows. Stick with it - the tools and community are top-notch."
It's a journey, but you've got this. Keep improving, listen to your users, and don't be shy about asking for help. Before you know it, your app will be out there in the wild.
FAQs
How to upload React Native Expo app to App Store?
Here's how to get your React Native Expo app on the App Store:
- Log into Expo
- Check your app's on EAS servers
- Make sure it's on App Store Connect
- Register your Bundle ID on Apple Developer Portal
- Set up your credentials
- Run
eas submit -p iosin your project folder
This command walks you through the whole process.
How to publish React Native app on Expo?
To publish your React Native app on Expo:
- Log into Expo in your project terminal
- Install eas-cli:
npm install -g eas-cli - Create an Expo org
- Make a new Expo project
- Copy the project ID
- Initialize it in your Expo project
How to publish to expo app store?
Publishing to the Expo app store is similar to the App Store:
- Get your app on EAS servers
- Check App Store Connect listing
- Register your Bundle ID
- Set up credentials
- Pick which binary to submit
You'll need a paid developer account for this.
"EAS CLI makes submitting apps a breeze. It's a game-changer for developers", says an Expo dev advocate.
Double-check everything before you submit. It'll save you headaches and speed things up.